SRT & VTT Subtitle Export: A Transcription Workflow for Video Creators
How to use AI transcription to generate professional subtitles in SRT and VTT formats — from recording to timeline-synced captions ready for YouTube, Premiere, and Final Cut.
Why Video Creators Need an AI Subtitle Workflow
Subtitles are no longer optional. On YouTube, videos with captions see up to 40% more watch time. On social platforms, most viewers watch with sound off. For podcasters repurposing episodes as video, captions turn audio-first content into something visually engaging.
But creating subtitles manually is painful. A 10-minute video can take over an hour to caption by hand — timing each line, fixing typos, formatting for the right platform. An AI-powered transcription workflow eliminates most of that labor, producing timeline-synced subtitles you can export in industry-standard formats and drop straight into your editing software.
SRT vs VTT: Which Format Do You Need?
Two formats dominate the subtitle world, and knowing when to use each saves time and avoids compatibility headaches.
- SRT (SubRip) — The universal standard. Uses timestamps in
HH:MM:SS,mmmformat with auto-generated sequence numbers. Supported by YouTube, Premiere Pro, DaVinci Resolve, and virtually every video player. Choose SRT when you need maximum compatibility. - VTT (WebVTT) — The web-native format. Uses
HH:MM:SS.mmmtimestamps with an auto-generatedWEBVTTheader. Supports styling and positioning metadata. Choose VTT for HTML5 video players, web-based platforms, and when you need CSS-style caption customization.
The key structural difference: SRT uses a comma in timestamps (00:01:23,456) while VTT uses a period (00:01:23.456). SRT requires numbered sequence entries; VTT does not. In Speechy, both formats are managed through a unified SubtitleExportService, so you choose the format at export time — no need to decide upfront.
The Complete Workflow: From Recording to Subtitles
Here is a step-by-step workflow that takes you from raw footage to ready-to-use subtitles:
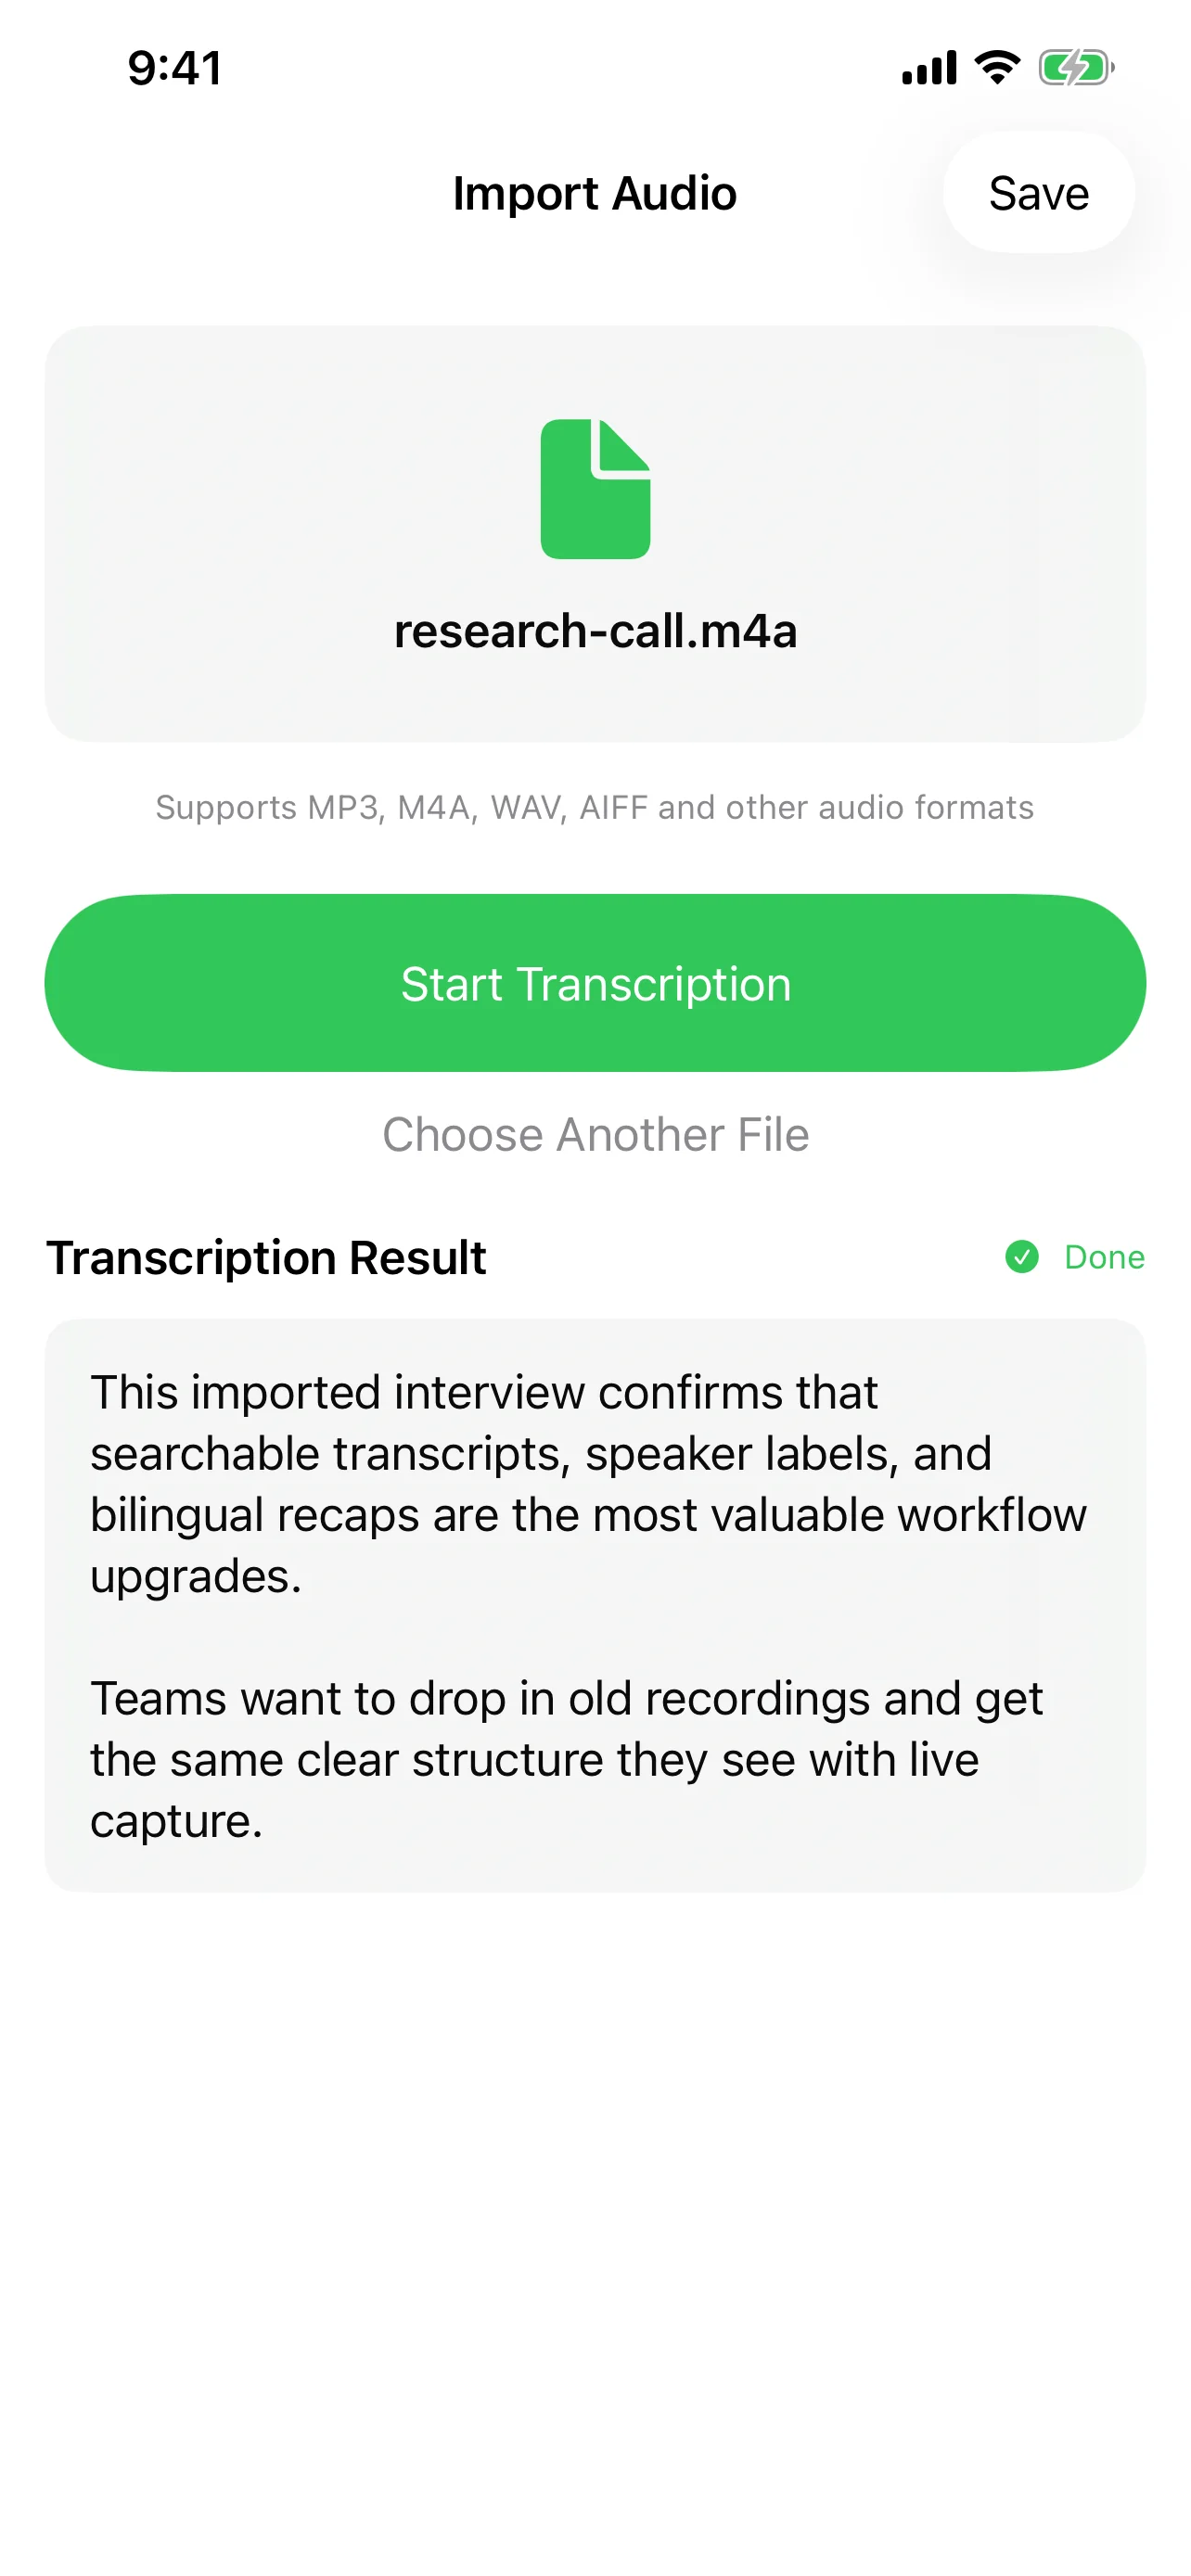
- Import your video — Speechy accepts MP4, MOV, and M4V files. It extracts the audio track automatically, so you do not need to separate audio beforehand.
- Transcribe — On-device speech recognition converts the audio to text with paragraph-level timestamps. You can watch the transcription happen in real time or process it in the background.
- Review in Subtitle Mode — Switch to the subtitle display view to see your transcript segmented into caption-sized blocks, each synced to the timeline. Tap any segment to hear the corresponding audio — a karaoke-style playback that makes review fast.
- Correct with AI — Use the AI correction feature to fix recognition errors, proper nouns, technical terms, and punctuation. This is especially valuable for content with jargon or multilingual speakers.
- Export — Choose SRT or VTT and share. The file is ready to upload or import into your editor.
Using AI to Improve Subtitle Quality
Raw speech recognition output is rarely broadcast-ready. Common issues include missed punctuation, incorrect homophones, and garbled proper nouns. Speechy's AI layer addresses these problems:
- Error correction — AI reviews the full transcript context and fixes words that sound right but are spelled wrong (e.g., "their" vs "there," brand names, technical terms).
- Punctuation and formatting — Adds commas, periods, and sentence breaks where the speaker paused, producing subtitles that read naturally.
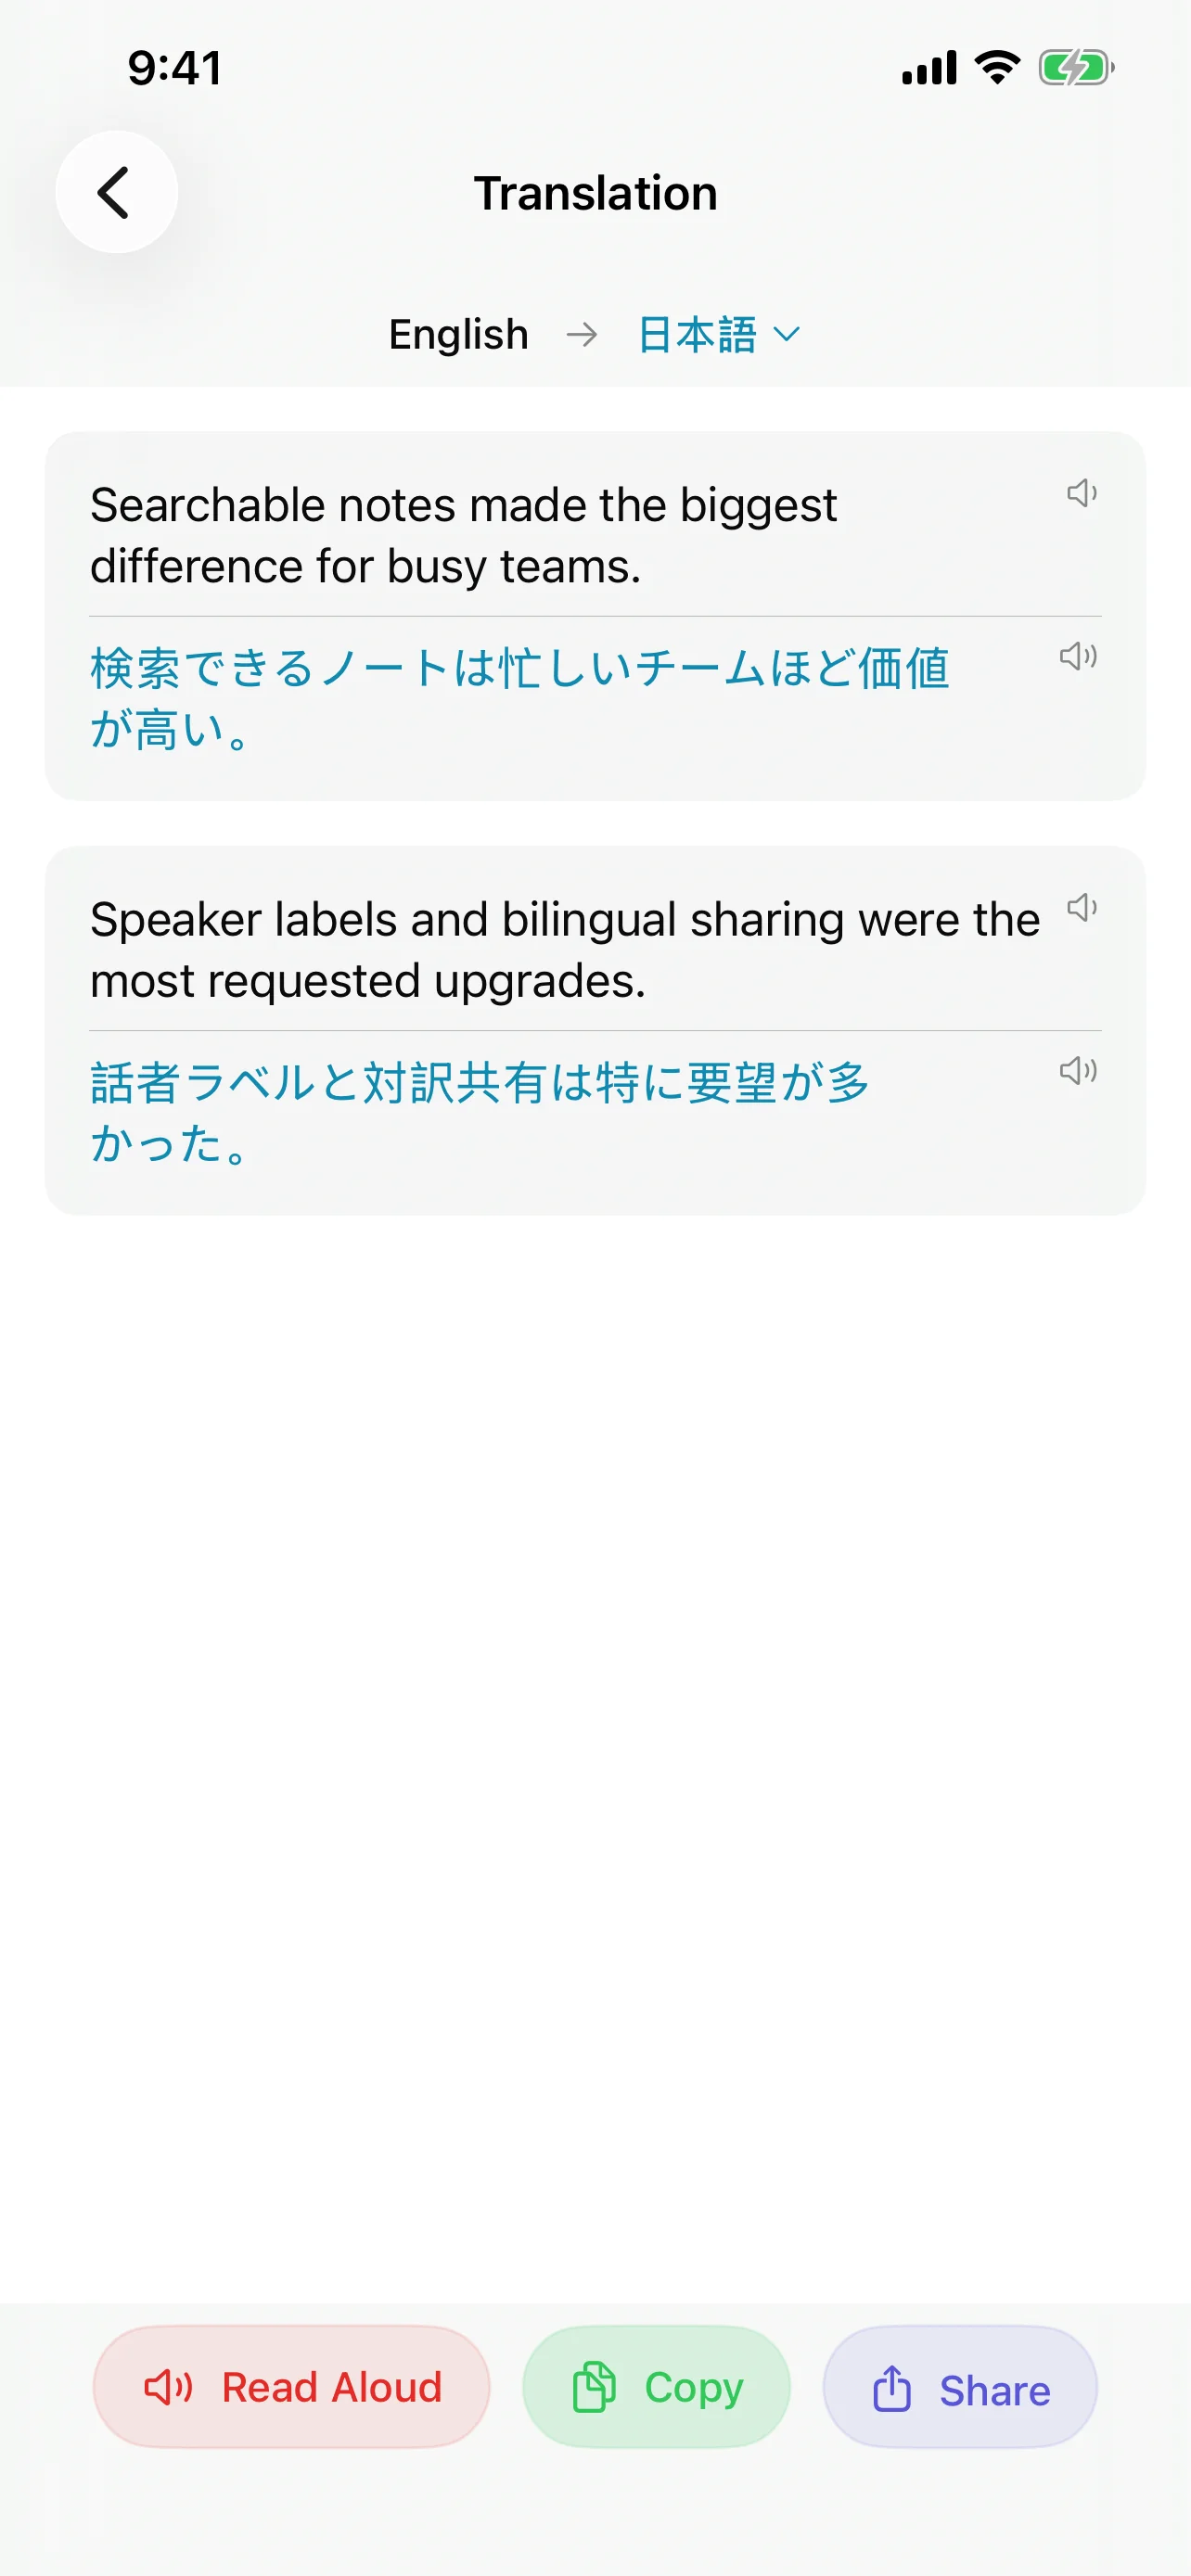
- Translation for bilingual subtitles — Use the translation feature to generate a second language version of your transcript. This gives you the raw material for bilingual subtitle tracks — a major accessibility win for international audiences.
Using Your Subtitles in Editing Software
Once exported, your subtitle files integrate directly into professional workflows:
- YouTube — Upload your SRT file in YouTube Studio under Subtitles. YouTube parses the timestamps and displays captions with frame-accurate timing. VTT files also work.
- Adobe Premiere Pro — Import SRT via File > Import, then drag it to the timeline. Premiere creates a caption track you can style and reposition. Since version 2022, Premiere handles SRT natively.
- Final Cut Pro — Use the Import Captions option to load your SRT file. Captions appear as a connected storyline element you can adjust per clip.
- DaVinci Resolve — Import SRT through the Media Pool. Resolve places subtitles on a dedicated subtitle track with full editing controls.
Podcast Creators: Subtitles as a Growth Tool
Podcasters increasingly publish video versions of episodes on YouTube and social media. Subtitles serve multiple purposes in this context:
- Audiograms and clips — Short clips with burned-in captions perform significantly better on Instagram, TikTok, and LinkedIn. Export SRT from Speechy, import into your clip editor, and you have timed captions without manual work.
- Full episode accessibility — Uploading SRT to YouTube makes your podcast searchable by Google and accessible to deaf and hard-of-hearing audiences.
- Show notes and transcripts — The same transcription that generates subtitles can be exported as plain text for blog posts and show notes, maximizing the return on a single recording.
For podcast workflows specifically, the ability to import video files (MP4/MOV) and extract the audio track means you can work from your final rendered video rather than juggling separate audio exports.
Practical Tips for Better Subtitles
- Record clean audio — Subtitle quality starts with audio quality. Use an external microphone and minimize background noise.
- Keep segments short — Aim for 1-2 lines per subtitle block. Speechy's paragraph-based segmentation handles this naturally.
- Always run AI correction — A single pass catches most errors and saves significant manual editing time.
- Preview before export — Use the timestamp-synced playback to spot-check timing and text accuracy.
- Choose the right format for your platform — SRT for maximum compatibility, VTT for web-first distribution.
Try Speechy Free
Available on iPhone, iPad, and Apple Watch
